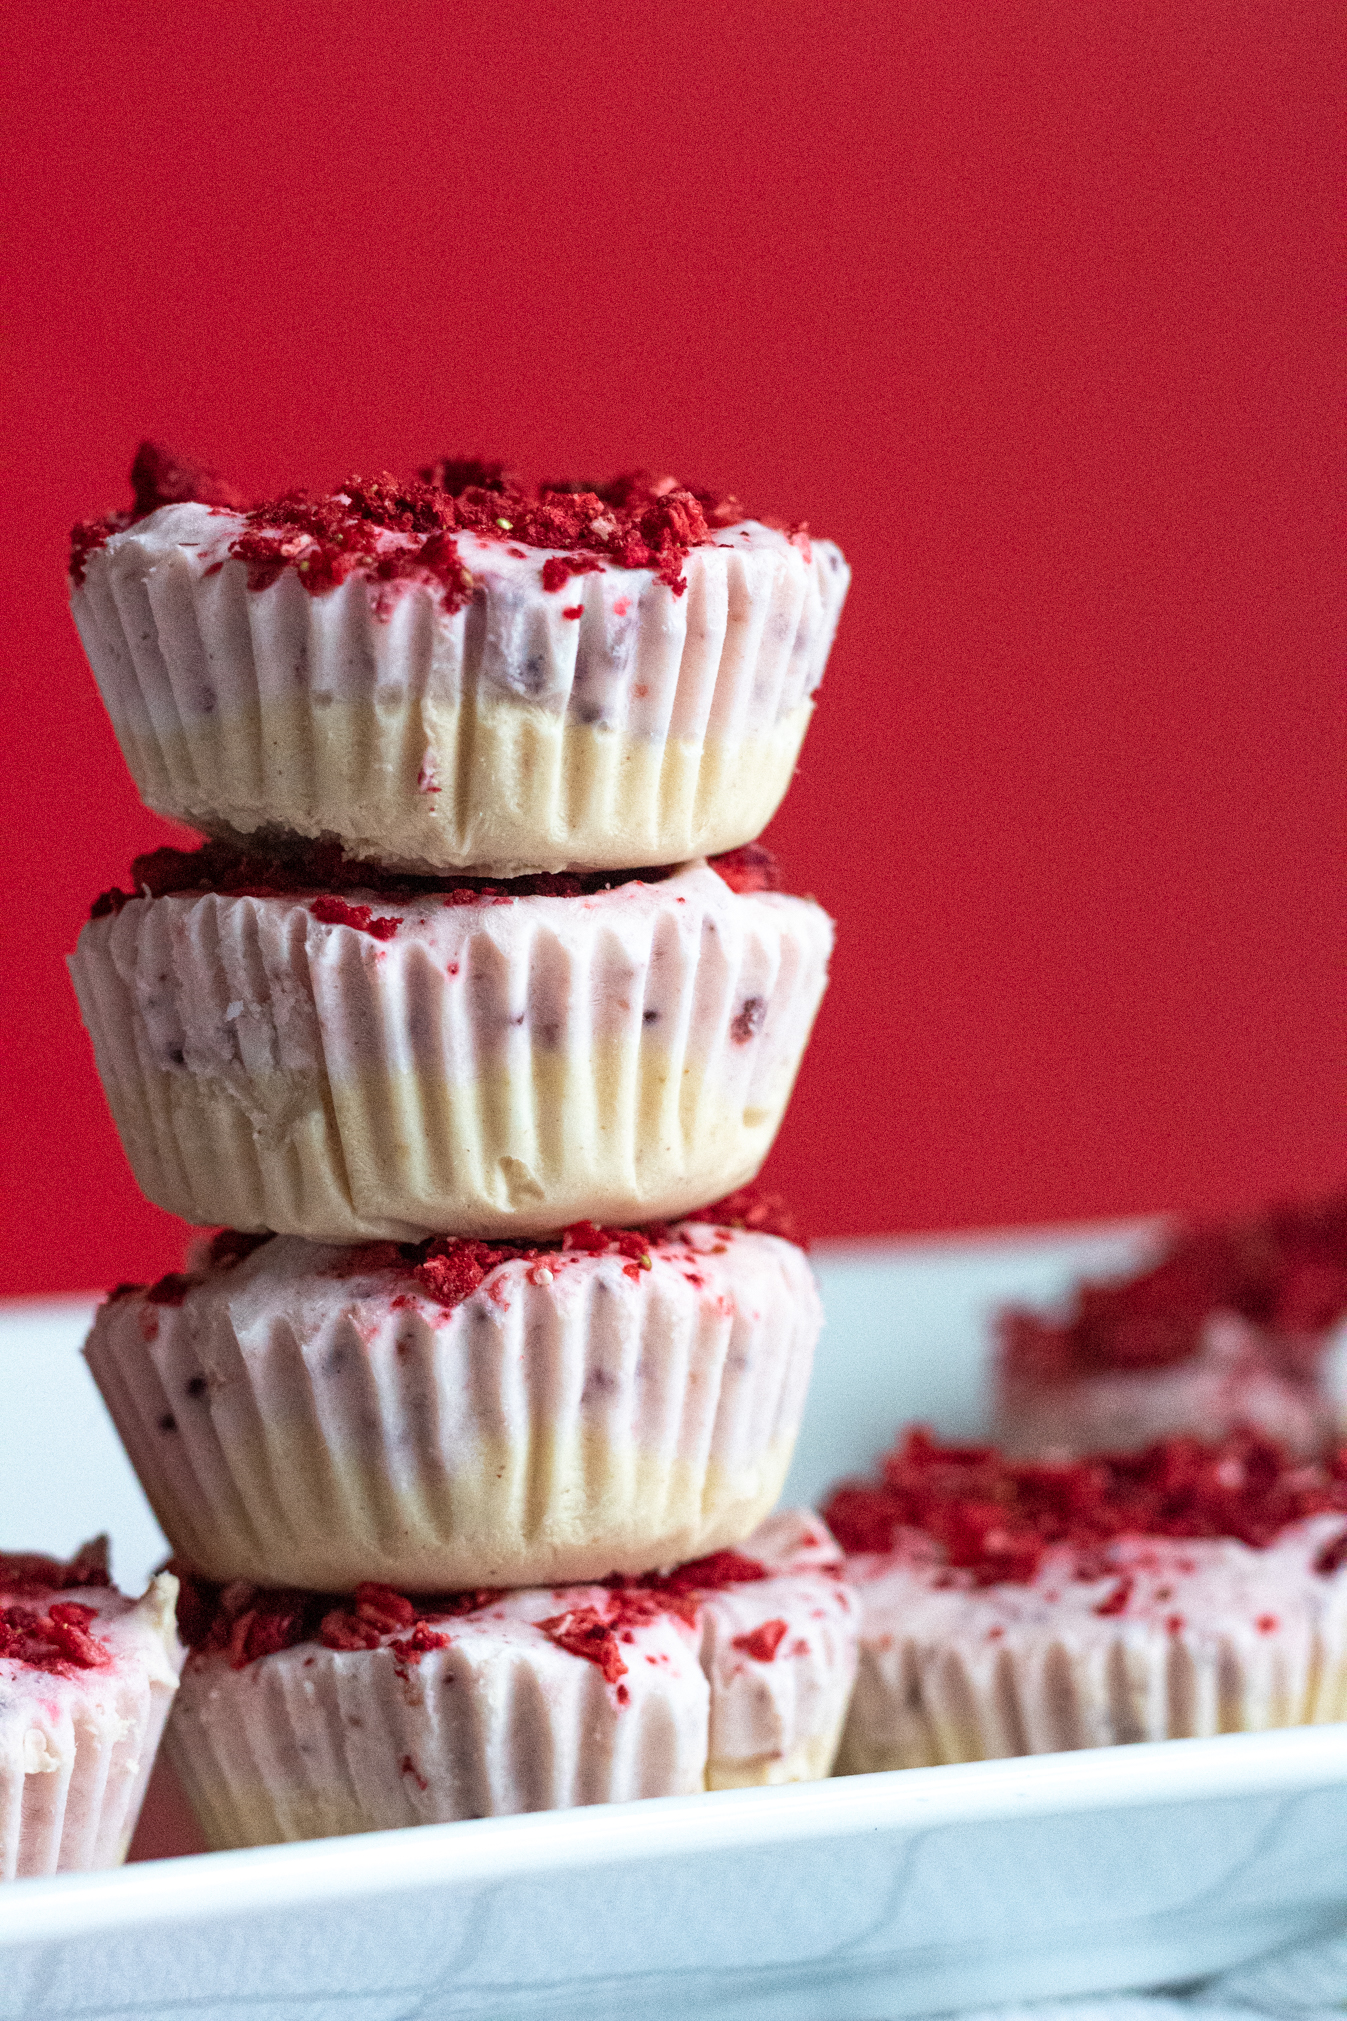
I actually first made this recipe TWO years ago during the first summer I had this blog! I initially tested the recipe using popsicle molds, but I didn’t absolutely love the pictures (is it just me, or are popsicles difficult to look pretty for photographs?!). I clearly had plenty of other recipes to share with you instead, especially as I started getting so much garden produce and was inspired by that for recipe creation. There’s nothing like having this huge basket of zucchini that gets you thinking about recipes you can use zucchini in!
Anyways, I honestly forgot about the recipe until a few months ago, and decided to use cupcake molds instead of the popsicle molds for these frozen Greek yogurt cups. Either way works!
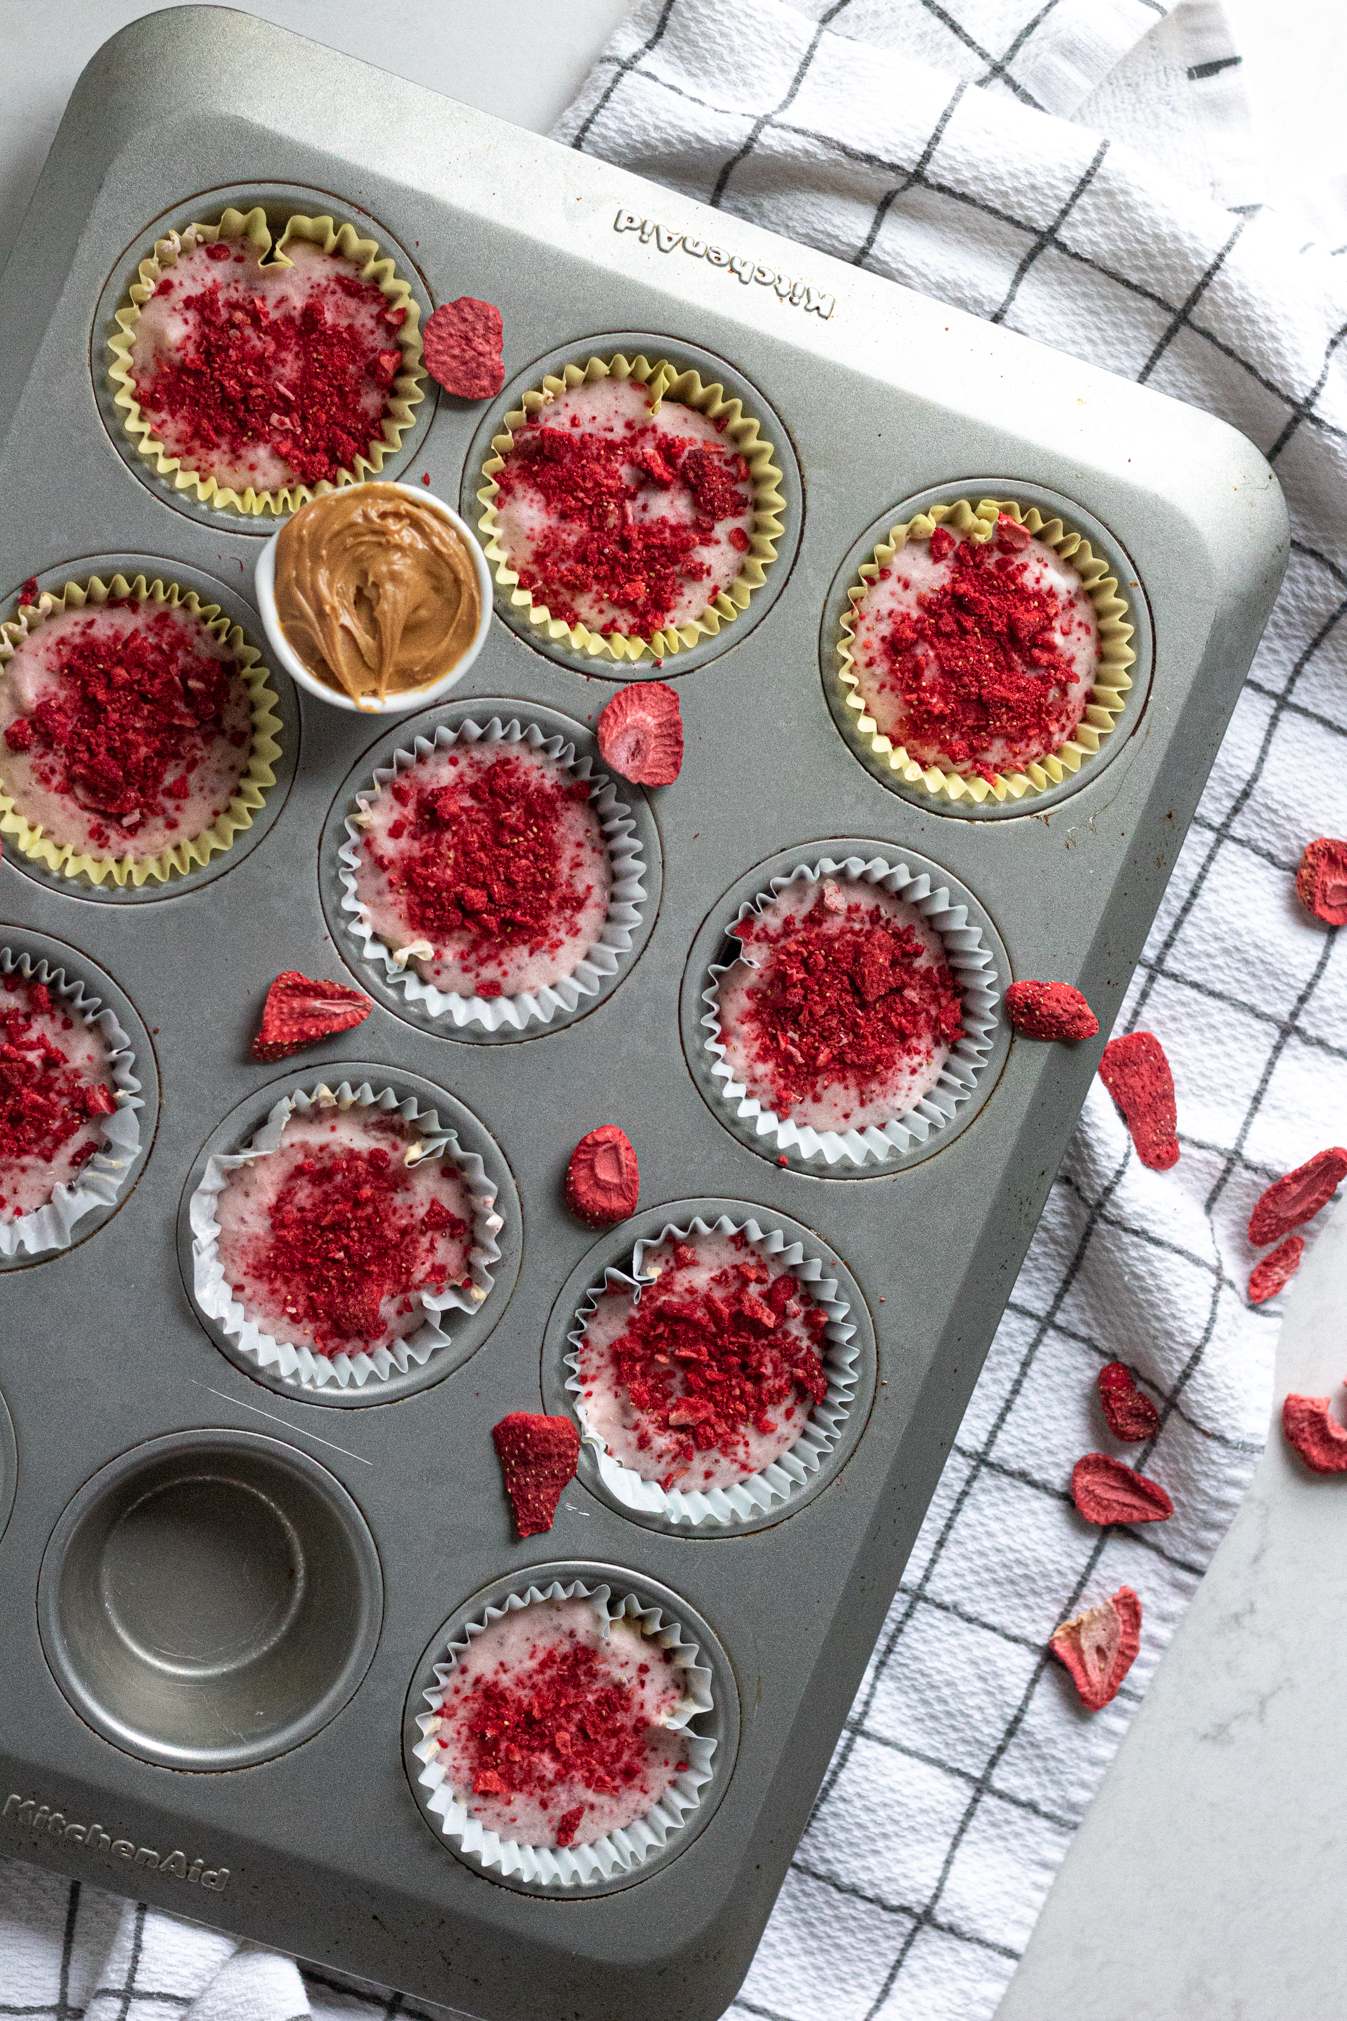
Ingredients for Peanut butter and Jelly Frozen Greek Yogurt Cups (or Popsicles)
Greek Yogurt
I HIGHLY recommend using a full-fat Greek yogurt for this recipe for the best taste and texture. Low-fat/fat-free yogurt will have a much icier texture, whereas full-fat yogurt is a much creamier and rich texture.
You can use either vanilla or unsweetened yogurt for this recipe. I find it difficult to find a full-fat vanilla Greek yogurt at the grocery store, so I used an unsweetened/original/plain full-fat Greek yogurt and then added honey to taste to sweeten. You can do whatever you prefer, and feel free to add more honey to these to make them sweeter! ?
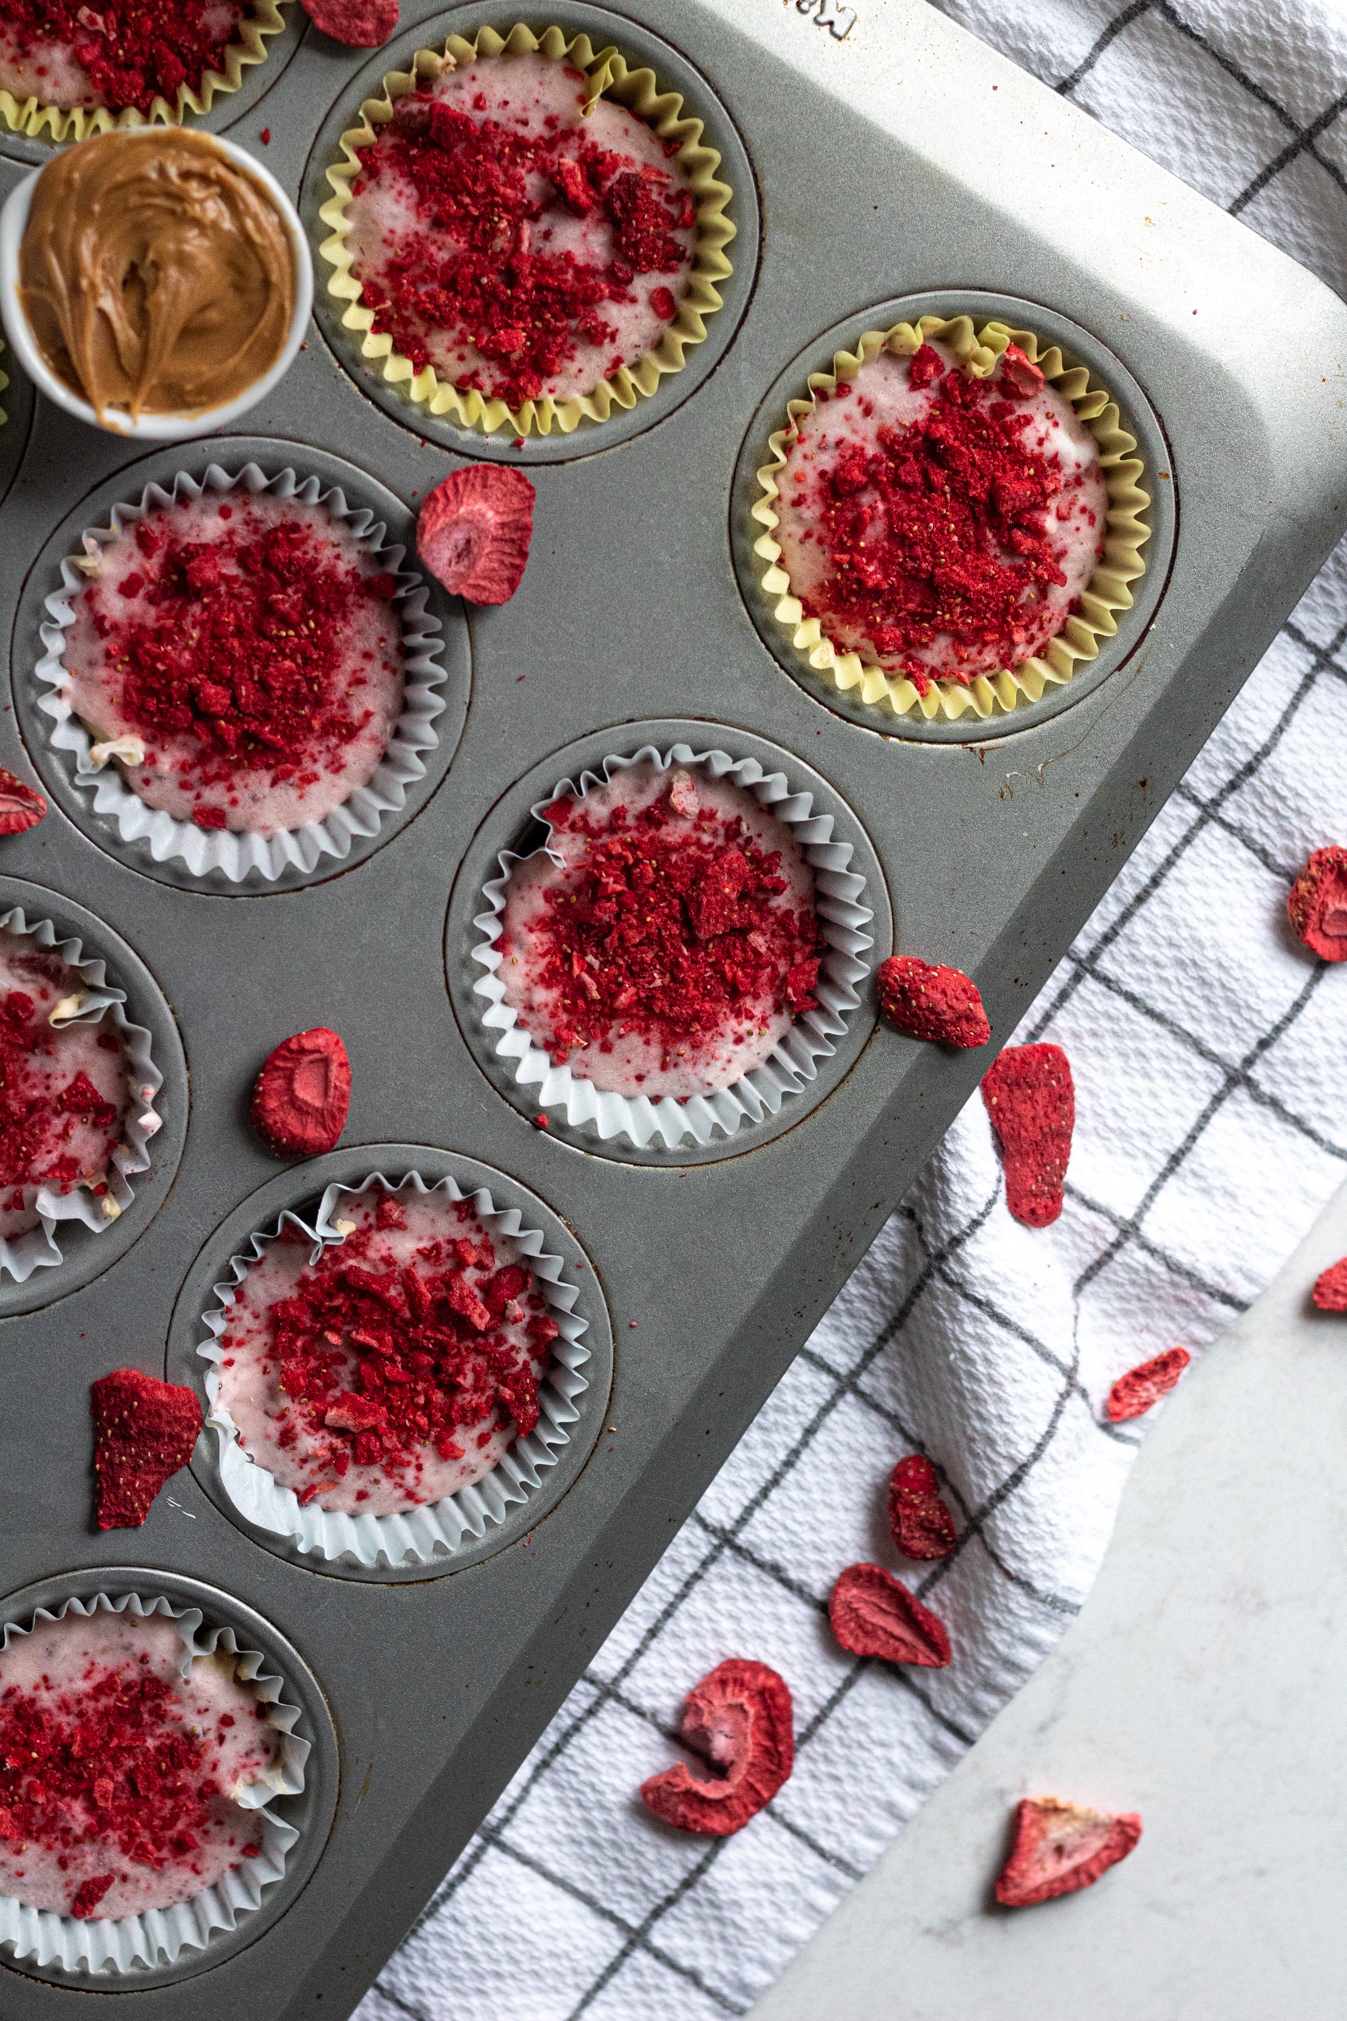
Jam/Jelly
I used homemade chia jam (and subbed strawberries for blueberries in the linked recipe) in these PB&J cups, but you can absolutely use your favorite store-bought jam or jelly too! I used strawberry in these photos, but blueberry or grape (or really any flavor) would also work! My personal favorite flavors for jam is either strawberry or blueberry, but absolutely use whatever your preference is! You will only need to use the jelly for the jelly layer. ?
Honey
As I mentioned, I chose to use unsweetened plain yogurt and sweeten it myself using honey. If you are using vanilla Greek yogurt, you probably won’t need to add any honey. And you can also substitute pure maple syrup or agave in place of the honey if you want! Although I will note these definitely don’t taste like honey.
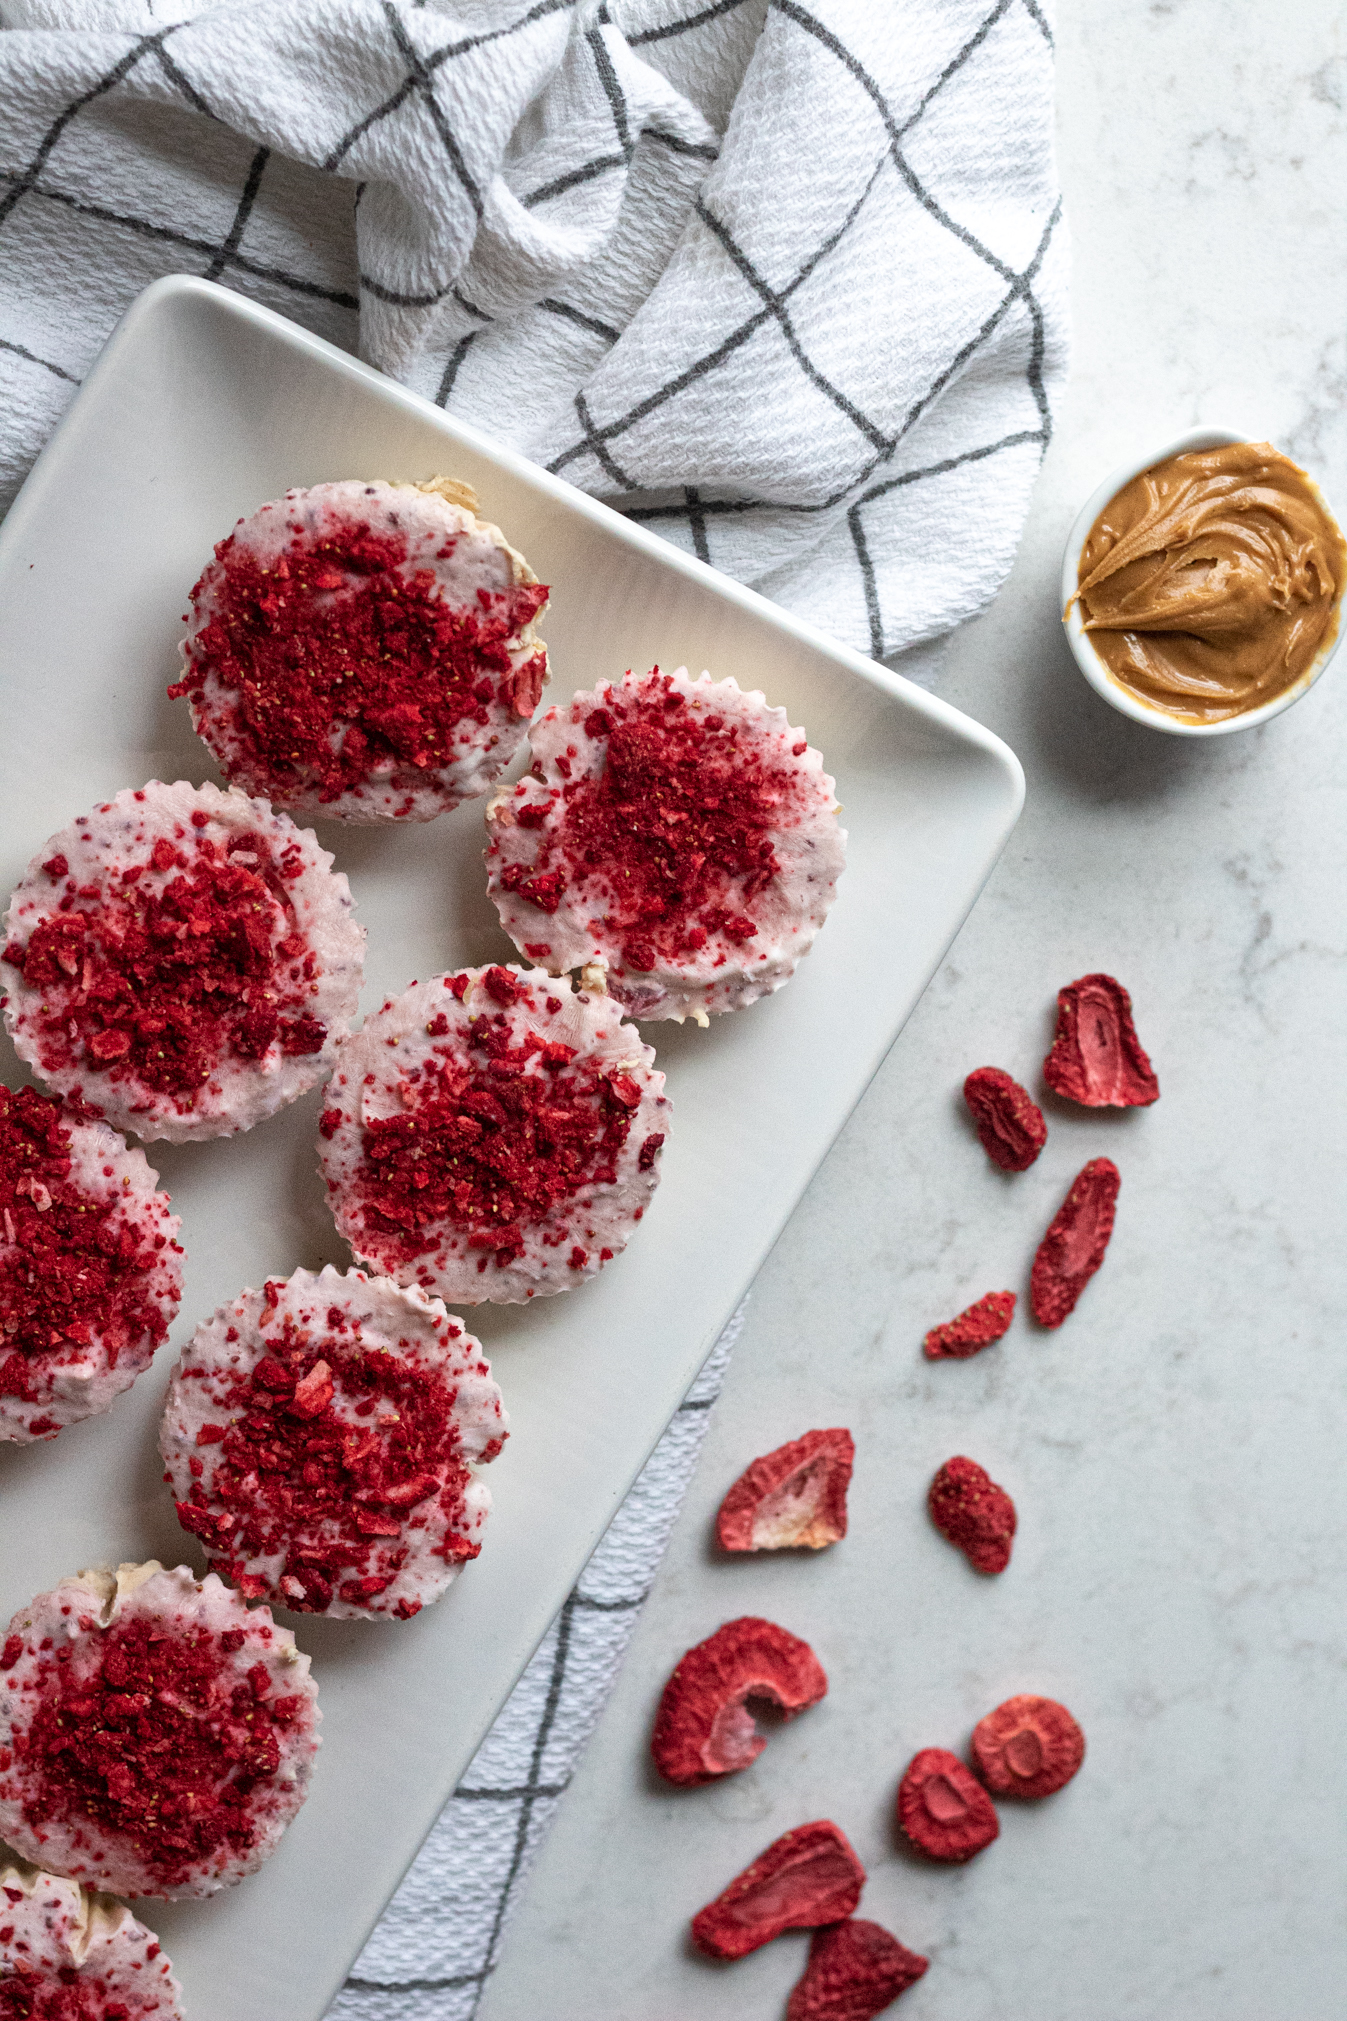
Peanut Butter
You can use a homemade peanut butter (have you tried this honey cinnamon peanut butter?!) or your favorite store-bought peanut butter. I go through peanut butter WAY too fast to always make it myself, but I do love making homemade nut butters (like this strawberry PB&J nut butter!)) for a fun change!
My personal preference for store-bought peanut butter is a natural peanut butter that just contains peanuts plus salt. The oil naturally separates at room temp, but you simply stir it back in and then refrigerate after opening the jar! I feel you can’t beat the ingredients, fresh taste, and nutrition of natural peanut butter! That being said, my husband prefers a Jif-style peanut butter so we definitely each have our separate jars of peanut butter ? You will only need the peanut butter for the peanut butter layer (obviously).
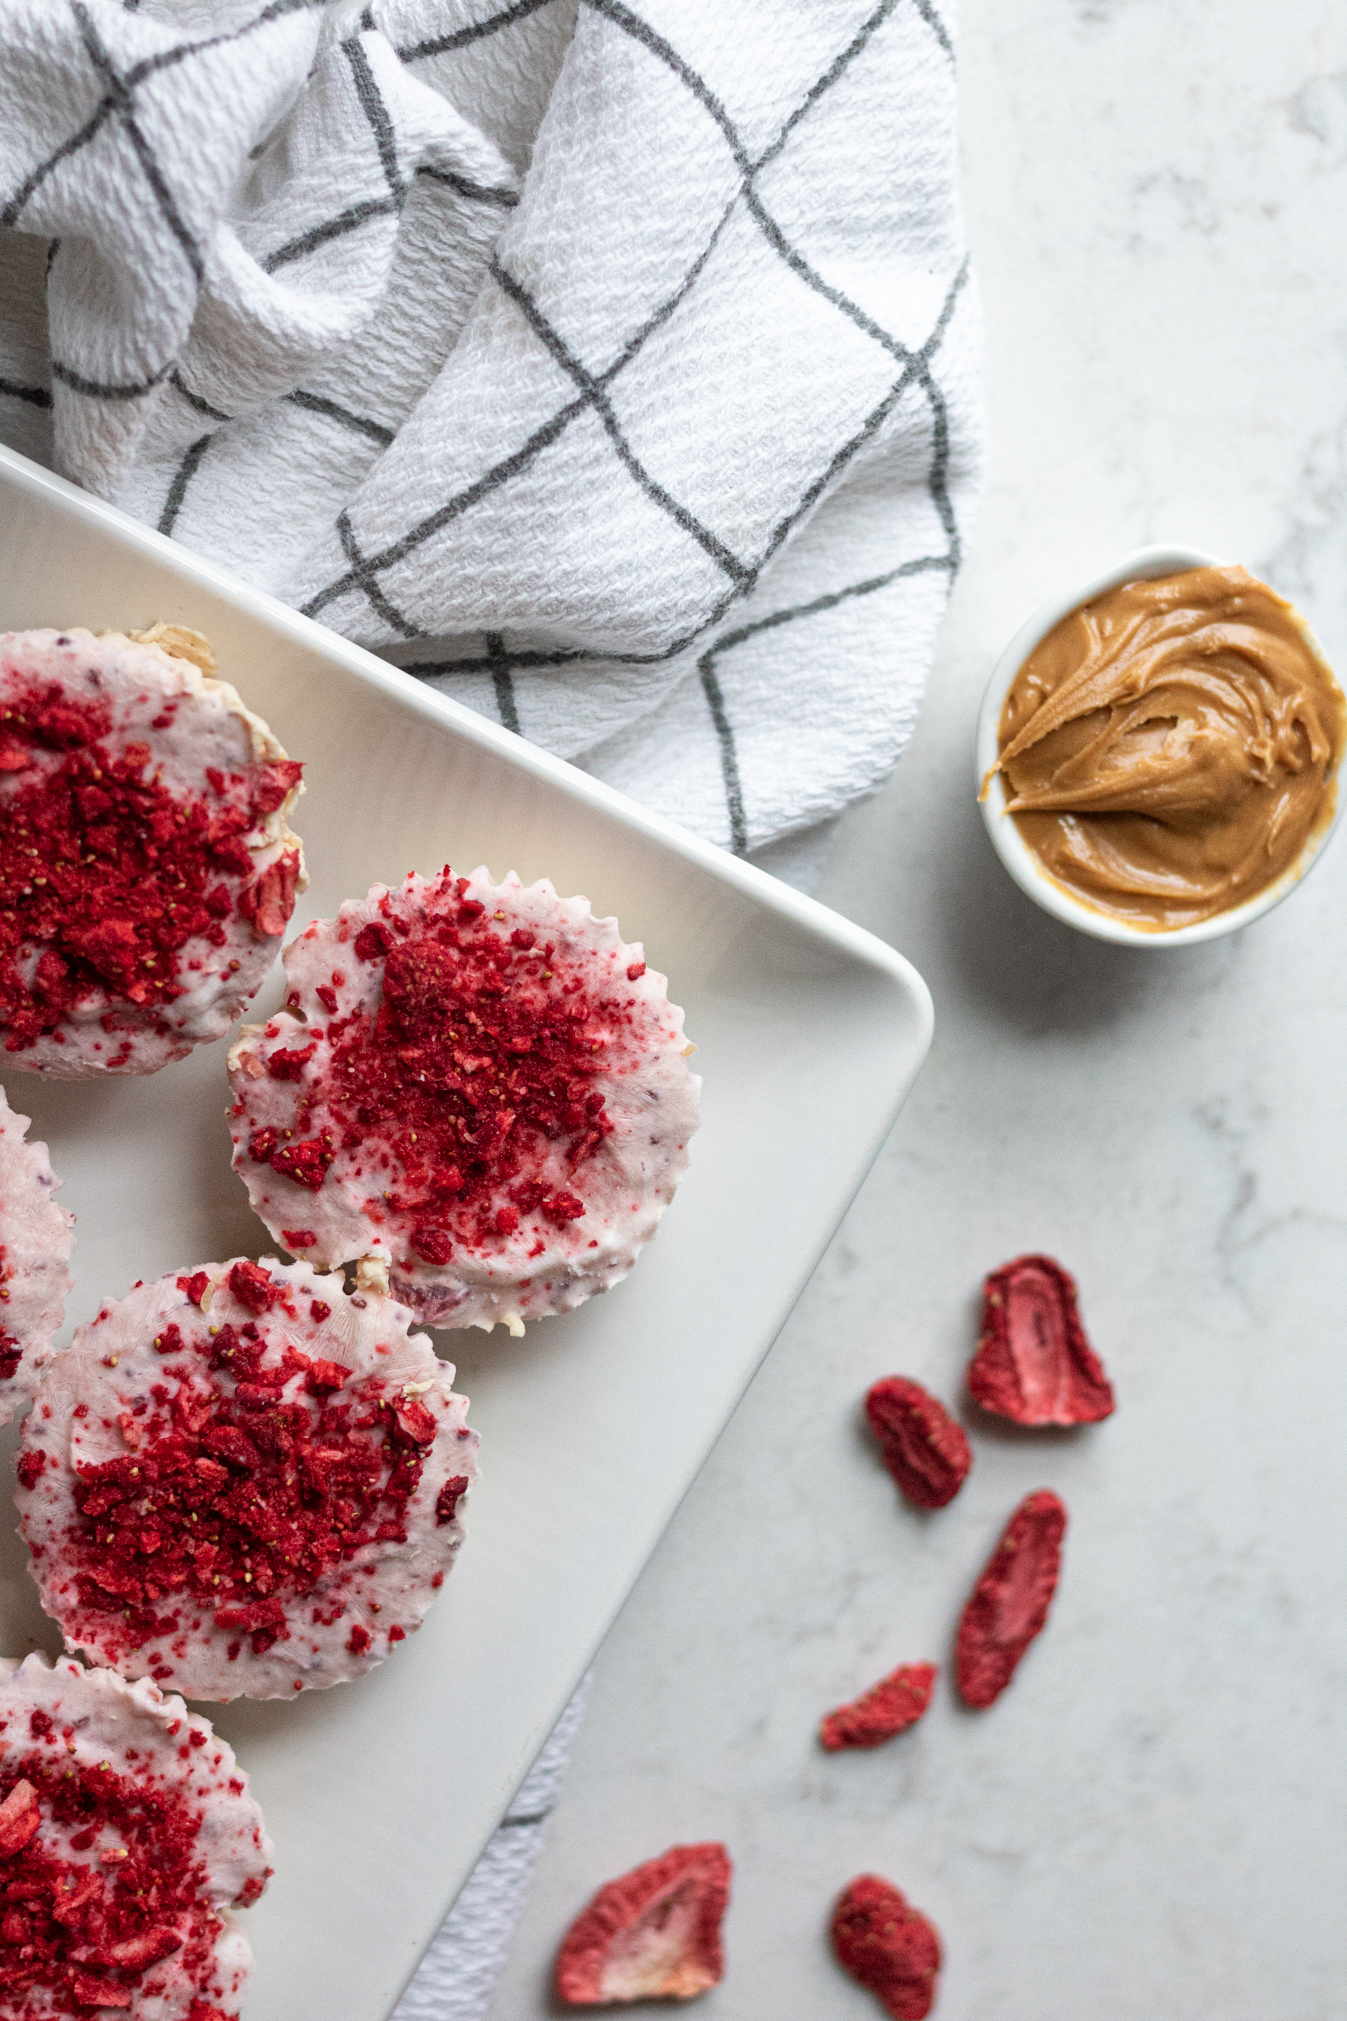
How to make layered Peanut Butter and Jelly Frozen Greek Yogurt
The easy thing about this recipe is that the layers use most of the same ingredients! For the “jelly” layer, you will use jam or jelly of your choice (try this jam!) and a touch of honey mixed into the Greek yogurt.
For the peanut butter layer, you simply mix in peanut butter and a touch of honey into the Greek yogurt.
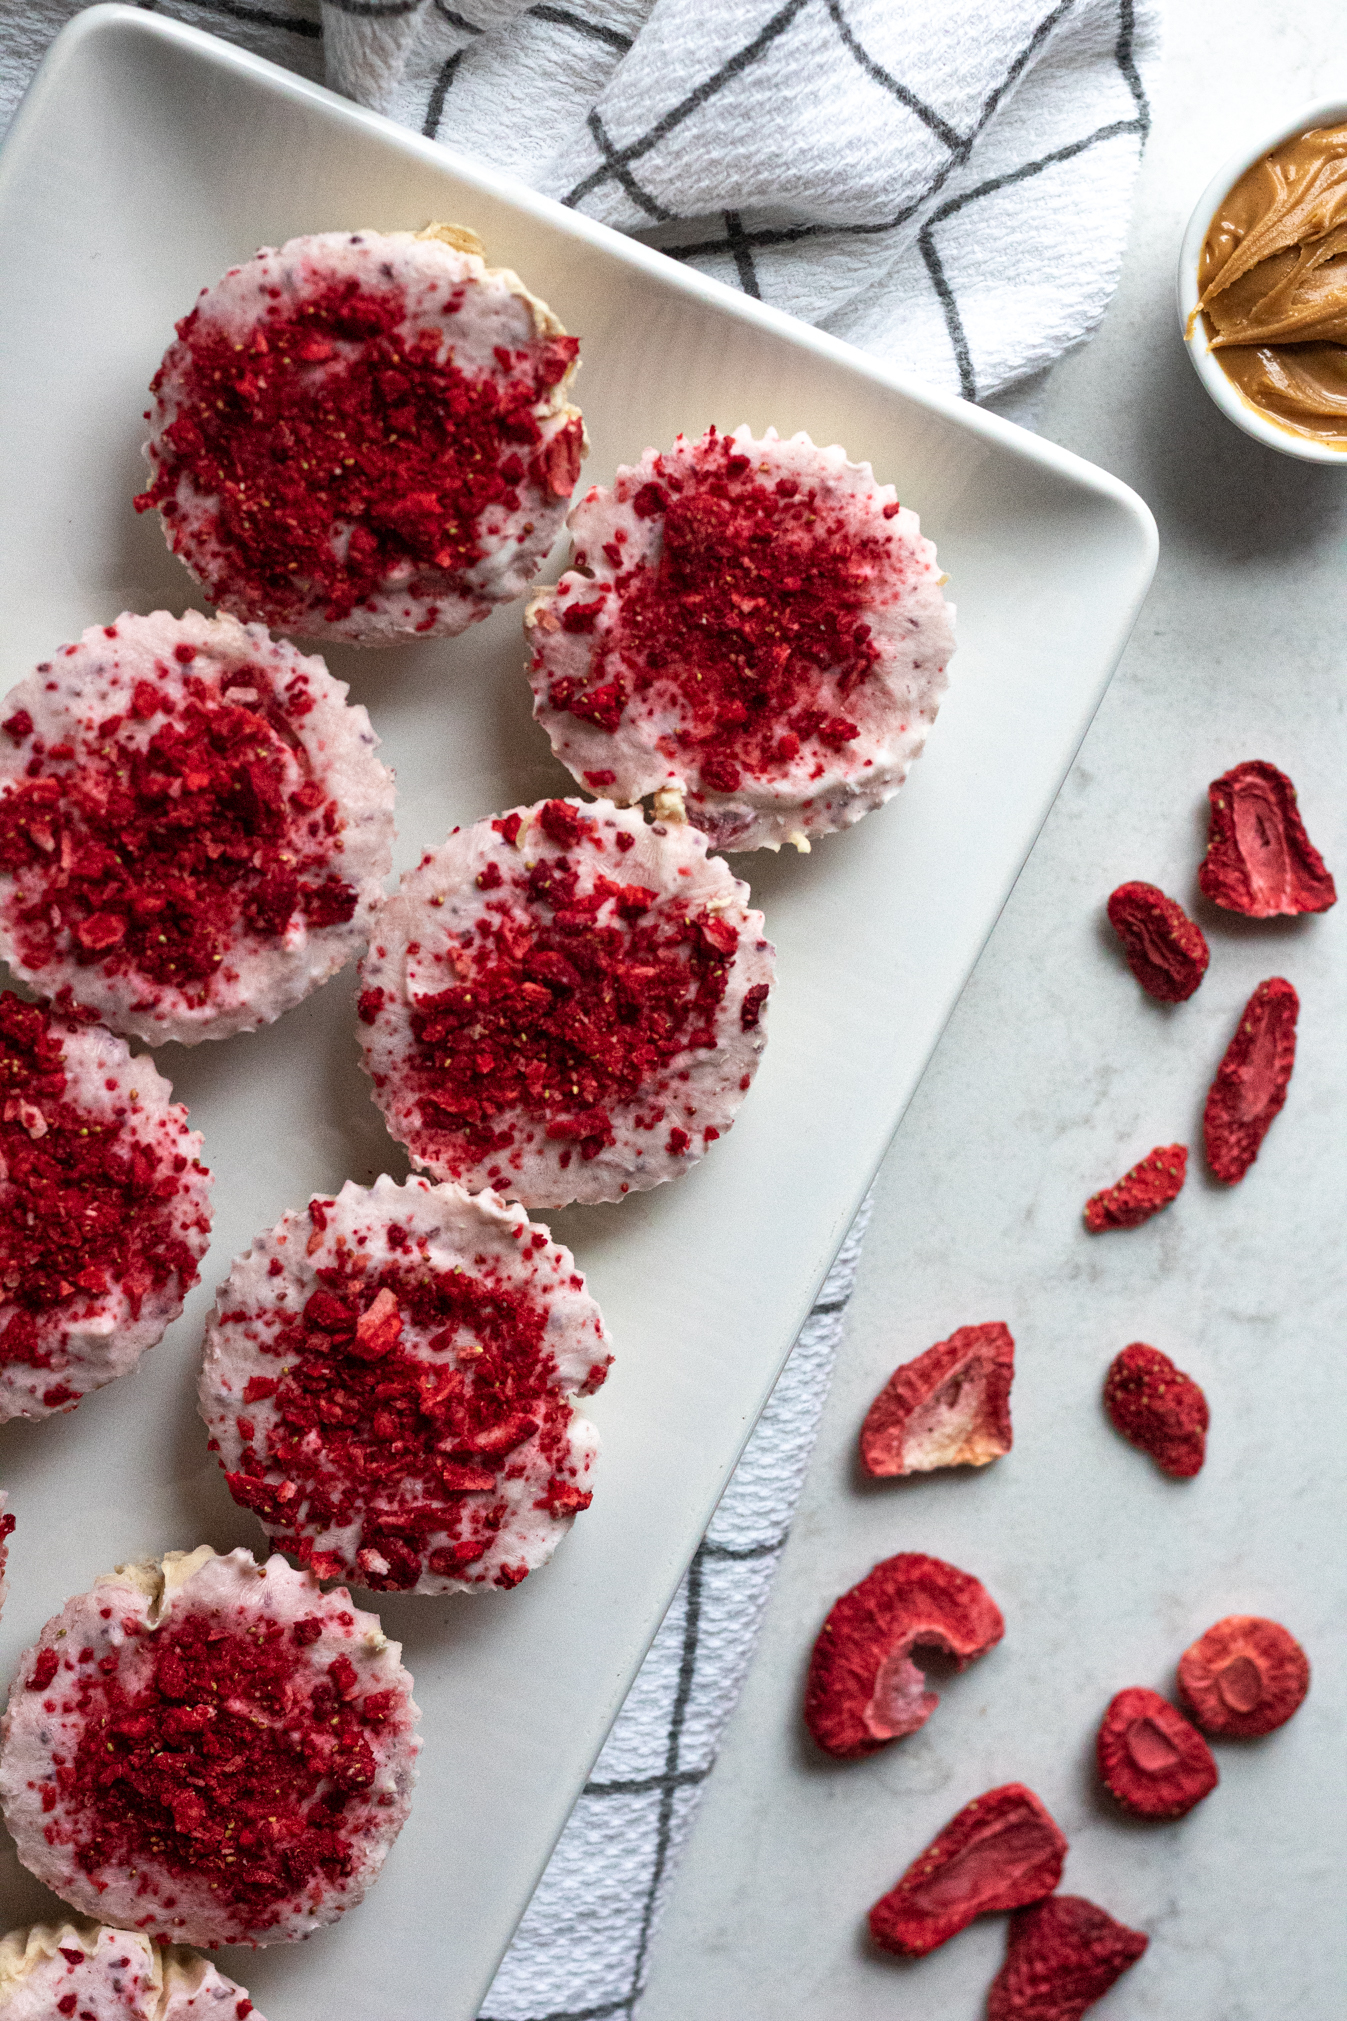
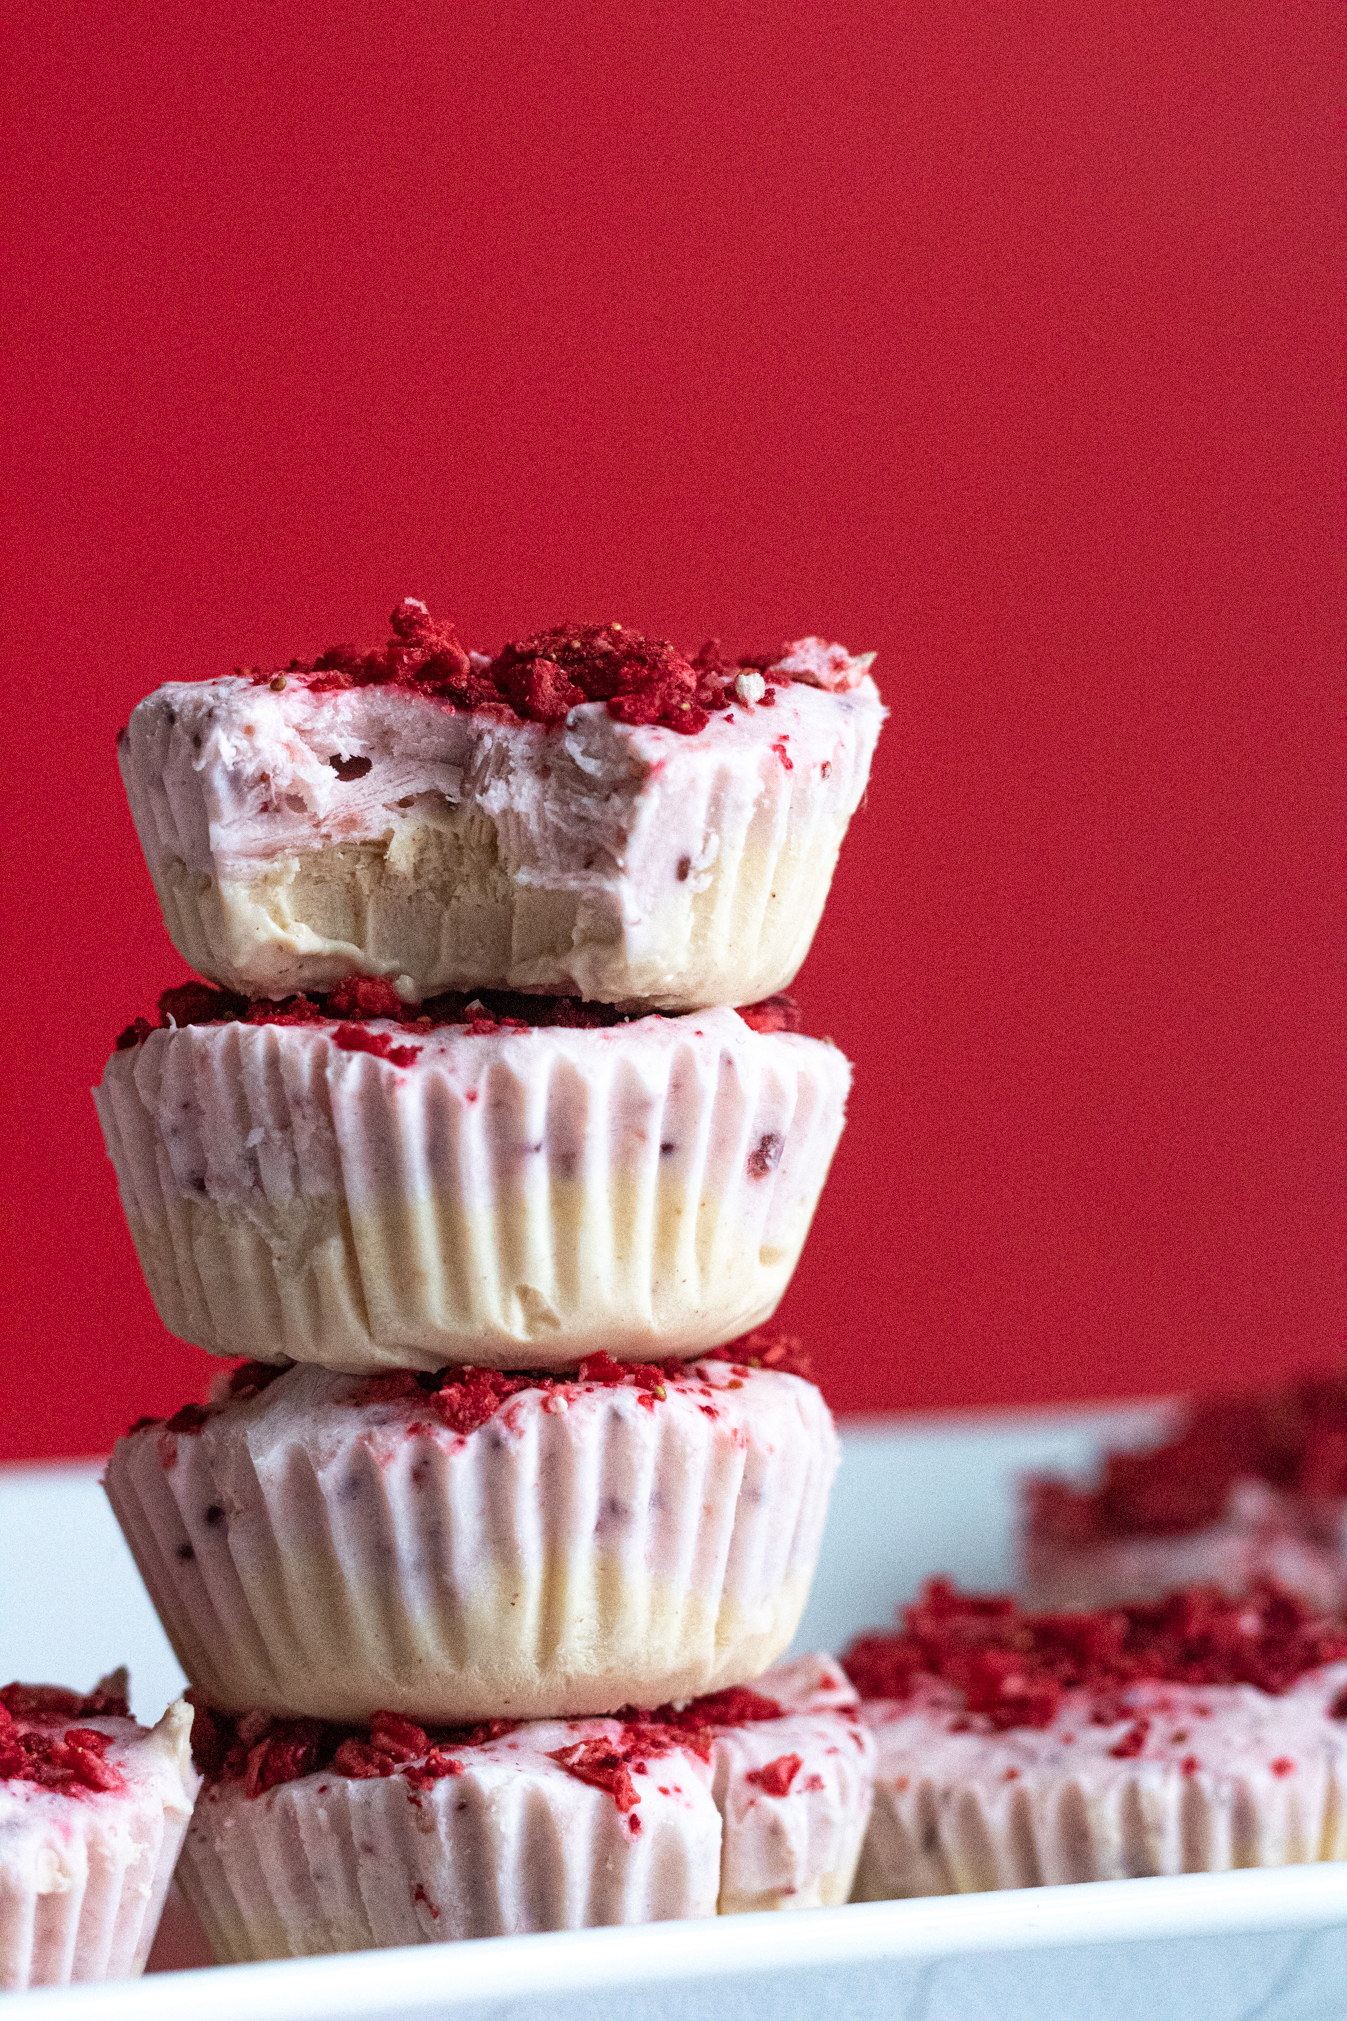
I layered the peanut butter layer first in the muffin cups (or popsicle molds), and then topped with the jelly Greek yogurt layer. Then all you have to do is simply put the pan/popsicle molds in the freezer, and freeze until firm! This will likely take at least 6 hours or overnight, so don’t expect to eat these immediately. ?
These peanut butter and jelly Greek yogurt cups are pretty hard/frozen when you first take them from the freezer. If you’re using popsicle molds, you’ll want to run the molds under warm/hot running water a couple minutes until they release. If using the cupcake molds, you might want to leave out on the counter 10-15 minutes before eating, or sometimes I quicken this process by putting them in the microwave for just a few seconds (what can I say, I’m impatient). ?
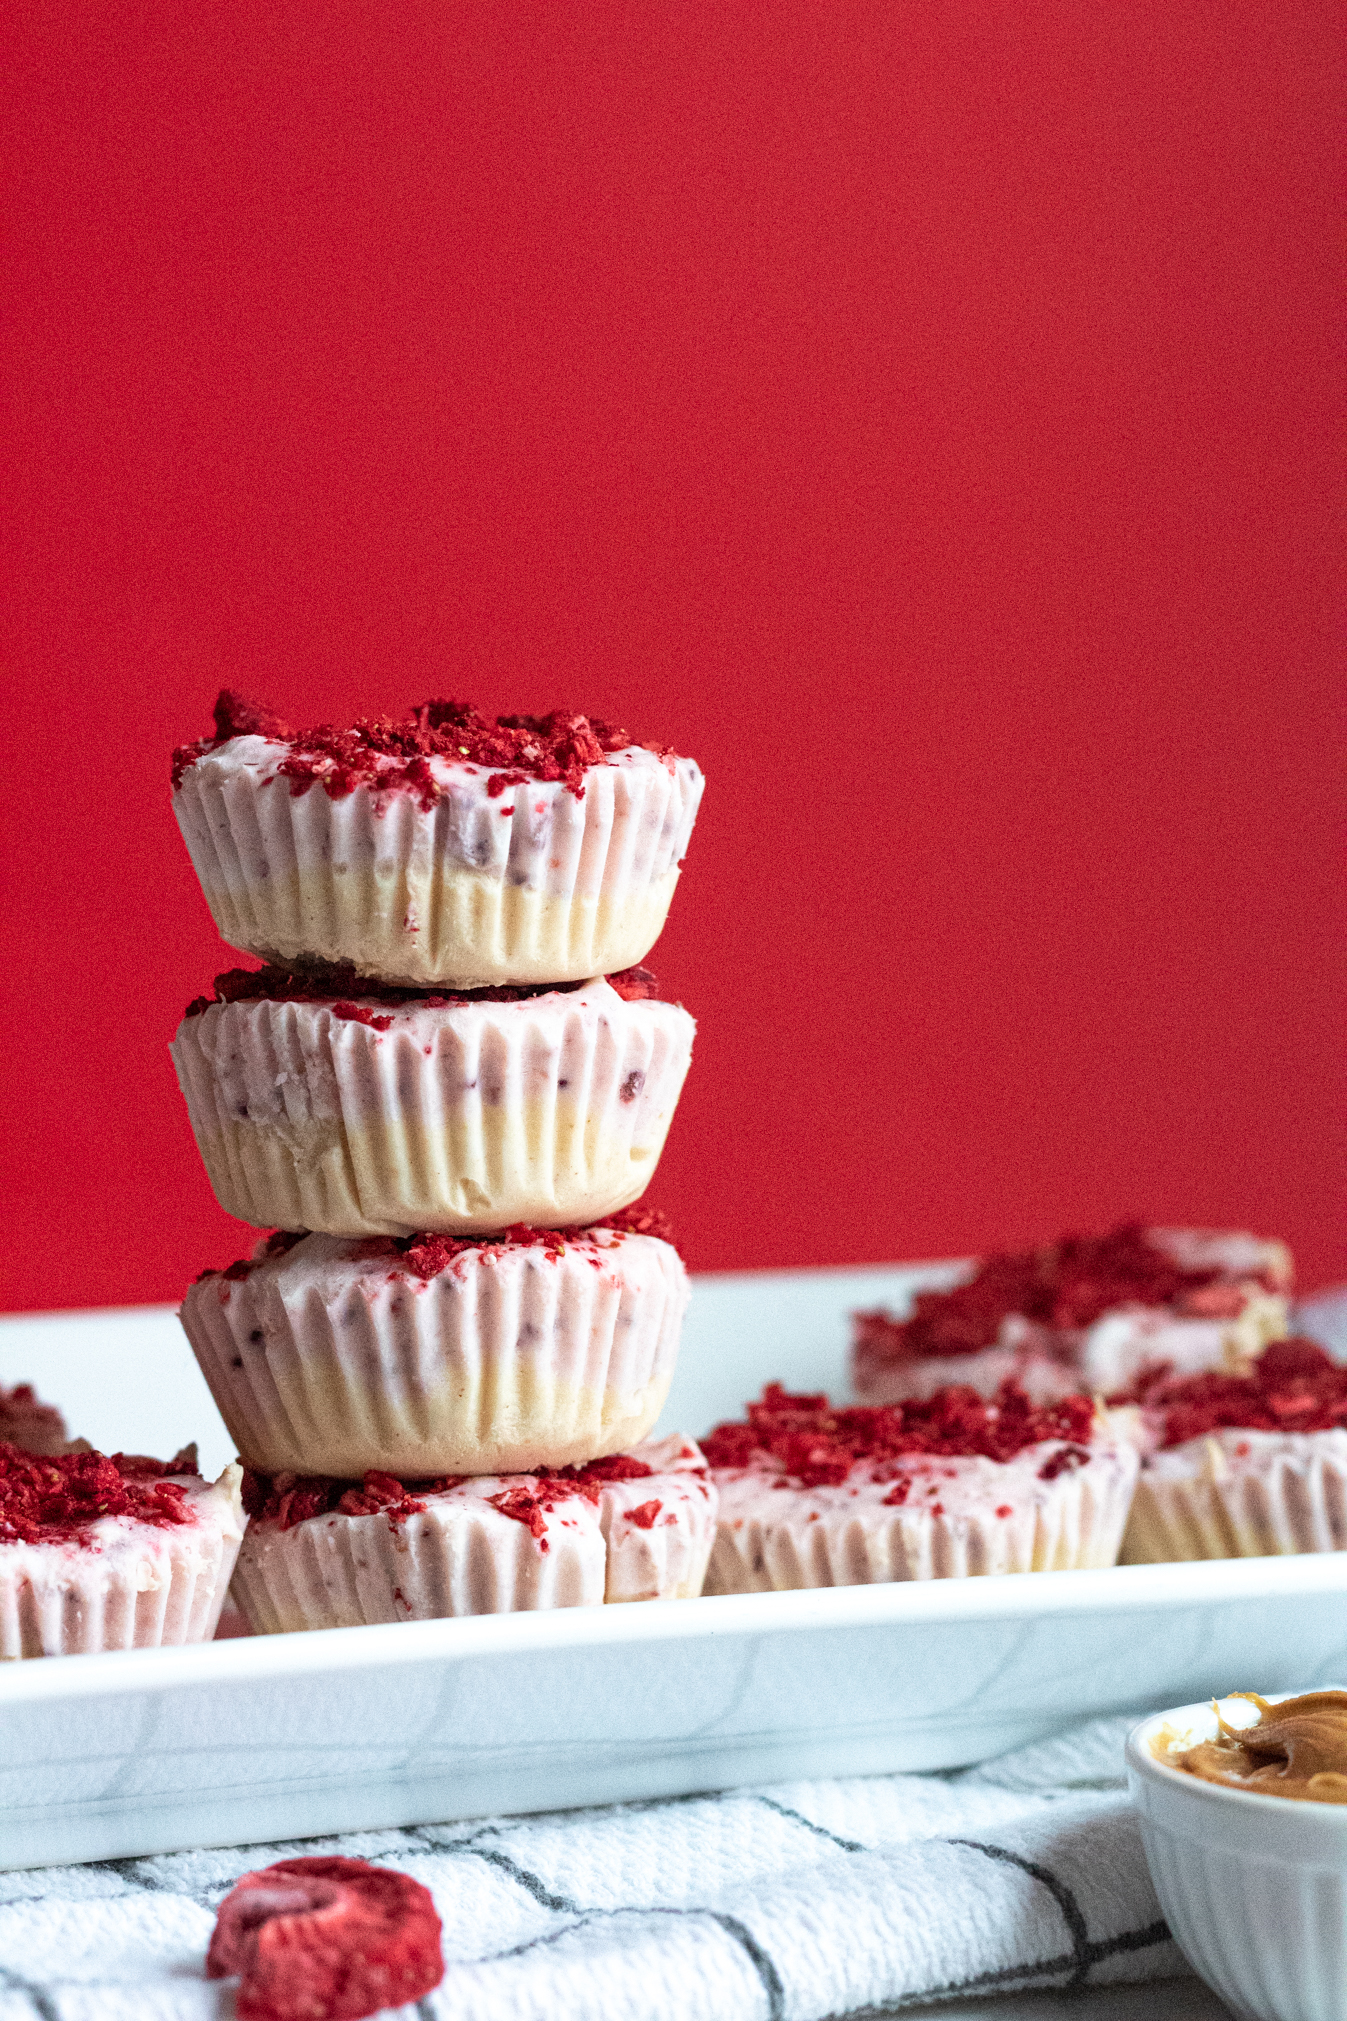
Serving Suggestions
I personally loved these PB&J Greek yogurt cups with breakfast cookies, these no-bake monster cookies, or these peanut butter chocolate chip no-bake granola bars. You can absolutely eat them by themselves too! I also even ate them with pancakes topped with peanut butter…honestly, so many options. ?
- For the “jelly” layer:
- 1 cup full-fat vanilla or plain Greek yogurt
- ¼ cup strawberry chia jam (or jam/jelly of choice)
- 1 tablespoon honey (if using plain yogurt)
- For the peanut butter layer:
- 1 cup full-fat vanilla or plain Greek yogurt
- ¼ cup peanut butter
- 1 tablespoon honey
- Crushed freeze-dried strawberries, optional for garnishing
- In a small bowl, mix together the Greek yogurt, jelly, and honey until combined.
- In a separate bowl, stir the Greek yogurt, peanut butter, and honey until smooth.
- Line 10 muffin cups with liners, OR use a popsicle mold (will make approximately 4-6 popsicles, depending on size of mold).
- Layer the peanut butter Greek yogurt mixture in the muffin liners or popsicle molds.
- Then top the peanut butter layer the jelly layer.
- Place muffin tray or popsicle molds in freezer until frozen and set, at least 6 hours or overnight.
- These will keep well in the freezer for up to a couple months! Run popsicle molds under warm running to release from the molds, and if using the muffin cups, let sit out on counter 10-15 minutes before enjoying (or microwave a few seconds).
Recent Comments